

Navigating “Hot Zones” in Arc Raiders is a distinct strategic progression path, separate from general combat or basic looting. It emphasizes high-risk, high-reward tactical play, intelligent observation, and precise execution to secure valuable resources without becoming free loot for other players. For raiders aiming to maximize their profits, acquire rare gear, and consistently emerge victorious from contested areas, a well-defined Hot Zone strategy forms a reliable and repeatable framework for dominating the most dangerous parts of the Exclusion Zone.
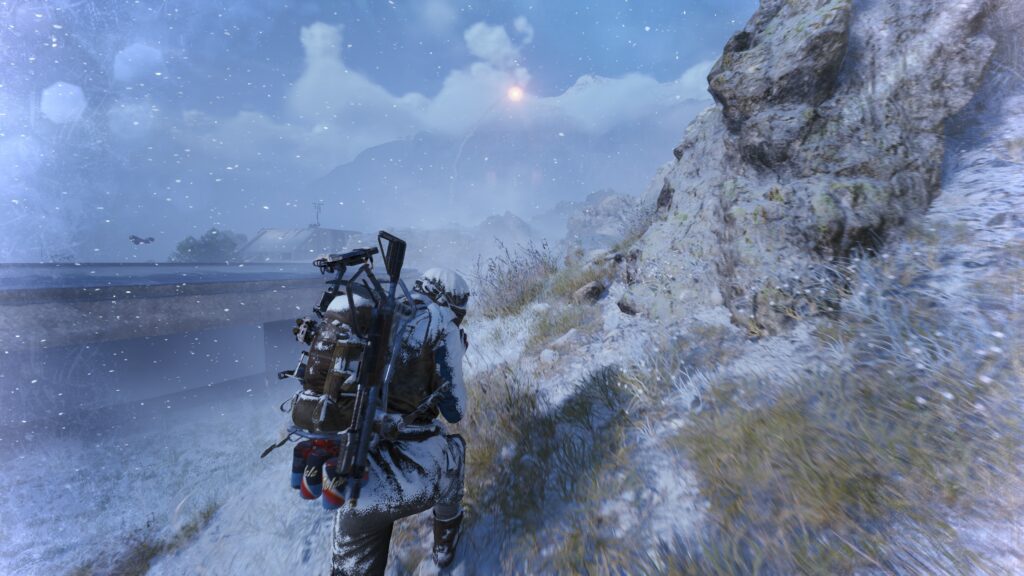
This guide examines how to approach Hot Zone engagements efficiently, focusing on pre-entry reconnaissance, strategic positioning, opportunistic striking, effective disengagement, and integrating these practices into a routine that consistently yields high-value loot while minimizing the chance of becoming another team’s easy score.
Understanding the Nature of Hot Zones
Hot Zones are specific areas on the Arc Raiders map known for their high concentration of valuable loot, rare resources, or critical mission objectives. Predictably, these are also areas with heightened enemy AI density and, more importantly, high player traffic. The challenge isn’t just fighting AI; it’s outsmarting and outplaying other human raiders. Entering a Hot Zone is a deterministic decision that demands superior tactical awareness and disciplined execution.
The structure of Hot Zone engagements encourages efficiency through meticulous planning and agile adaptation. Mastery is achieved by minimizing direct, unplanned confrontation, maximizing opportunistic strikes, and executing precise movements, turning chaotic high-stakes environments into controlled profit opportunities.
Phase 1: Pre-Entry Reconnaissance and Preparation
Never rush blindly into a Hot Zone. Your success depends on gathering information and preparing for multiple threat vectors before you commit.
- Listen and Observe: Before entering, pause at the perimeter. Listen for distant gunfire, explosions, or unique AI sounds. Use binoculars, scopes, or recon drones to visually sweep the area for active engagements, player movement, or signs of recent combat (e.g., destroyed vehicles, loot bags).
- Identify Entry Points: Scan for multiple entry and exit points. Plan your ingress from a less obvious or more defensible angle. Avoid main roads or wide-open approaches.
- Assess Current Activity: Is there an active player vs. player fight ongoing? Are players engaged with a high-tier AI boss? This intel dictates whether you push, wait, or avoid.
- Loadout Check: Confirm your loadout is appropriate for the Hot Zone. Do you have anti-personnel weapons? Enough healing and armor? Are your utility items (smoke, stuns, scanners) ready?
- Team Roles (if applicable): Reconfirm roles. Who is scouting? Who provides overwatch? Who is ready to push?
- Purpose: To gain a decisive information advantage, reducing surprises and enabling a calculated entry.
Phase 2: Strategic Positioning and Opportunistic Striking
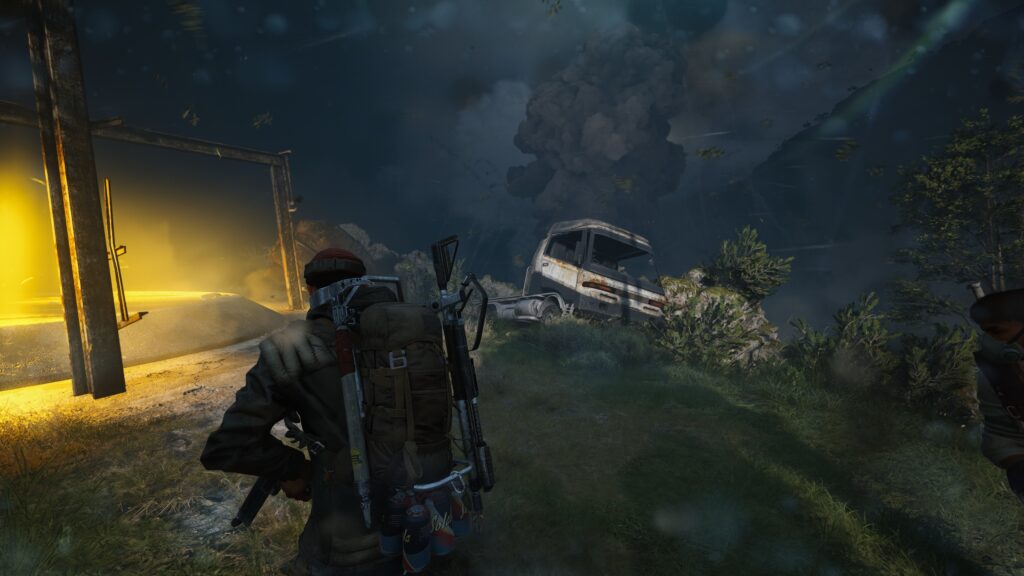
Once inside a Hot Zone, your focus shifts to finding advantageous positions and striking when the opportunity is ripe, not necessarily when you first spot an enemy.
- High Ground Advantage: Always seek high ground with good sightlines. This provides a clear view of the area, allows for effective overwatch, and often makes you a harder target to push.
- Hard Cover Priority: Even on high ground, prioritize hard cover. Avoid exposed positions, even if they offer good sightlines.
- Patience is Profit: Do not engage immediately unless you have an overwhelming advantage. Let other teams fight each other, or let them clear out difficult AI. The “third-party” rule is paramount in Hot Zones: wait for two teams to weaken each other, then strike.
- Flanking Routes: Identify potential flanking routes to catch distracted enemies. While one teammate draws fire (or observes), another can reposition for an unexpected angle.
- Secure Mini-Objectives: While observing, if a small, uncontested loot cache or resource node presents itself, quickly secure it without exposing yourself unnecessarily.
- Purpose: To position yourself for maximum impact with minimal risk, exploiting enemy distractions and weaknesses rather than engaging in direct, head-on brawls.
Phase 3: Engagement Tactics and Damage Control
When you do engage in a Hot Zone, precision and controlled aggression are key. These fights are often chaotic and unpredictable.
- Focus Fire: Prioritize high-threat targets (e.g., a player with an LMG, a heavy AI unit). Eliminate one threat at a time to reduce the overall pressure.
- Utilize Utility: Use smoke grenades to cut off sightlines for flanks or disengagements. Use stun grenades to disrupt enemy pushes. Advanced scanners can reveal hidden targets.
- Cross-Fire: If in a team, position yourselves to create overlapping fields of fire. This makes it impossible for enemies to take cover effectively and increases your combined damage output.
- Damage Management: If you take heavy damage, your first priority is to break line of sight and get to hard cover. Heal immediately. Do not try to “tank” damage in the open.
- Avoid Extended Fights: The longer a fight in a Hot Zone lasts, the higher the chance a third party will join. Aim for quick, decisive engagements.
- Purpose: To win engagements efficiently and decisively, minimizing the time spent in active combat and reducing the window for additional threats to intervene.
Phase 4: Effective Disengagement and Extraction
Knowing when and how to leave a Hot Zone is as important as knowing how to enter. Greed can lead to losing everything.
- Loot Discipline: Grab high-value items quickly, then get out. Do not linger to loot every single body or container, especially after a big fight. Your inventory should be optimized.
- Escape Routes: Always have an escape route in mind. If your primary path is blocked or becomes too dangerous, know an alternate.
- Smoke for Cover: Smoke grenades are invaluable for covering a retreat across open ground or to break line of sight from pursuing enemies.
- Dynamic Extraction: Hot Zones often mean hot extractions. Be prepared to fight for your exit, or find a less-contested extraction point further away if you have time.
- Post-Loot Scan: After securing your priority loot, do a quick final scan for any new threats before committing to an exit.
- Purpose: To safely exfiltrate with your high-value loot, preventing opportunistic enemies from turning your victory into their gain.
Conclusion: Calculated Risks for Maximum Rewards
Mastering Hot Zone strategy in Arc Raiders rewards consistency, meticulous planning, and disciplined execution under pressure. By implementing pre-entry reconnaissance, strategic positioning, opportunistic striking, and effective disengagement tactics, players can significantly enhance their ability to secure valuable resources from the most dangerous areas.
When integrated into your gameplay, a well-defined Hot Zone strategy transforms you from a potential victim into a calculating predator. It allows you to consistently navigate high-risk environments, acquire rare loot, avoid becoming free pickings, and emerge victorious from the most contested parts of the Exclusion Zone, turning calculated risks into maximum rewards in Arc Raiders.
Leave a Reply